
The Importance of a Precise Suspension Upgrade
Upgrading your suspension system is one of the most effective ways to enhance vehicle handling, cornering stability, and wheel alignment. Among the various components you can modify, adjustable control arms stand out as an essential addition for those seeking customization and long-term performance. Adjustable control arms allow users to fine-tune camber, caster, and toe angles, which are vital for achieving optimal tire contact with the road surface. Whether you're building a track car, a lifted off-road rig, or simply want to improve tire wear and daily drivability, the versatility of adjustable control arms can dramatically improve your setup. Before diving into the installation process, it’s crucial to understand what makes these components so beneficial and how they contribute to a balanced suspension system.
What You Need Before Starting the Installation
Tools and Equipment Required
Installing adjustable control arms requires specific tools that ensure the job is done safely and effectively. You’ll need a hydraulic jack and sturdy jack stands to elevate and support the vehicle securely. A full socket and wrench set, preferably metric and SAE, will help with removing bolts and tightening new hardware. A breaker bar is often essential for loosening stubborn bolts, especially on older vehicles. You should also have a torque wrench on hand to apply the correct torque specs during reassembly. Anti-seize compound is helpful to prevent future corrosion, especially when dealing with steel bolts in aluminum components. Safety gear like gloves and safety glasses should always be worn when working under a car to minimize injury risks during the adjustable control arms installation process.
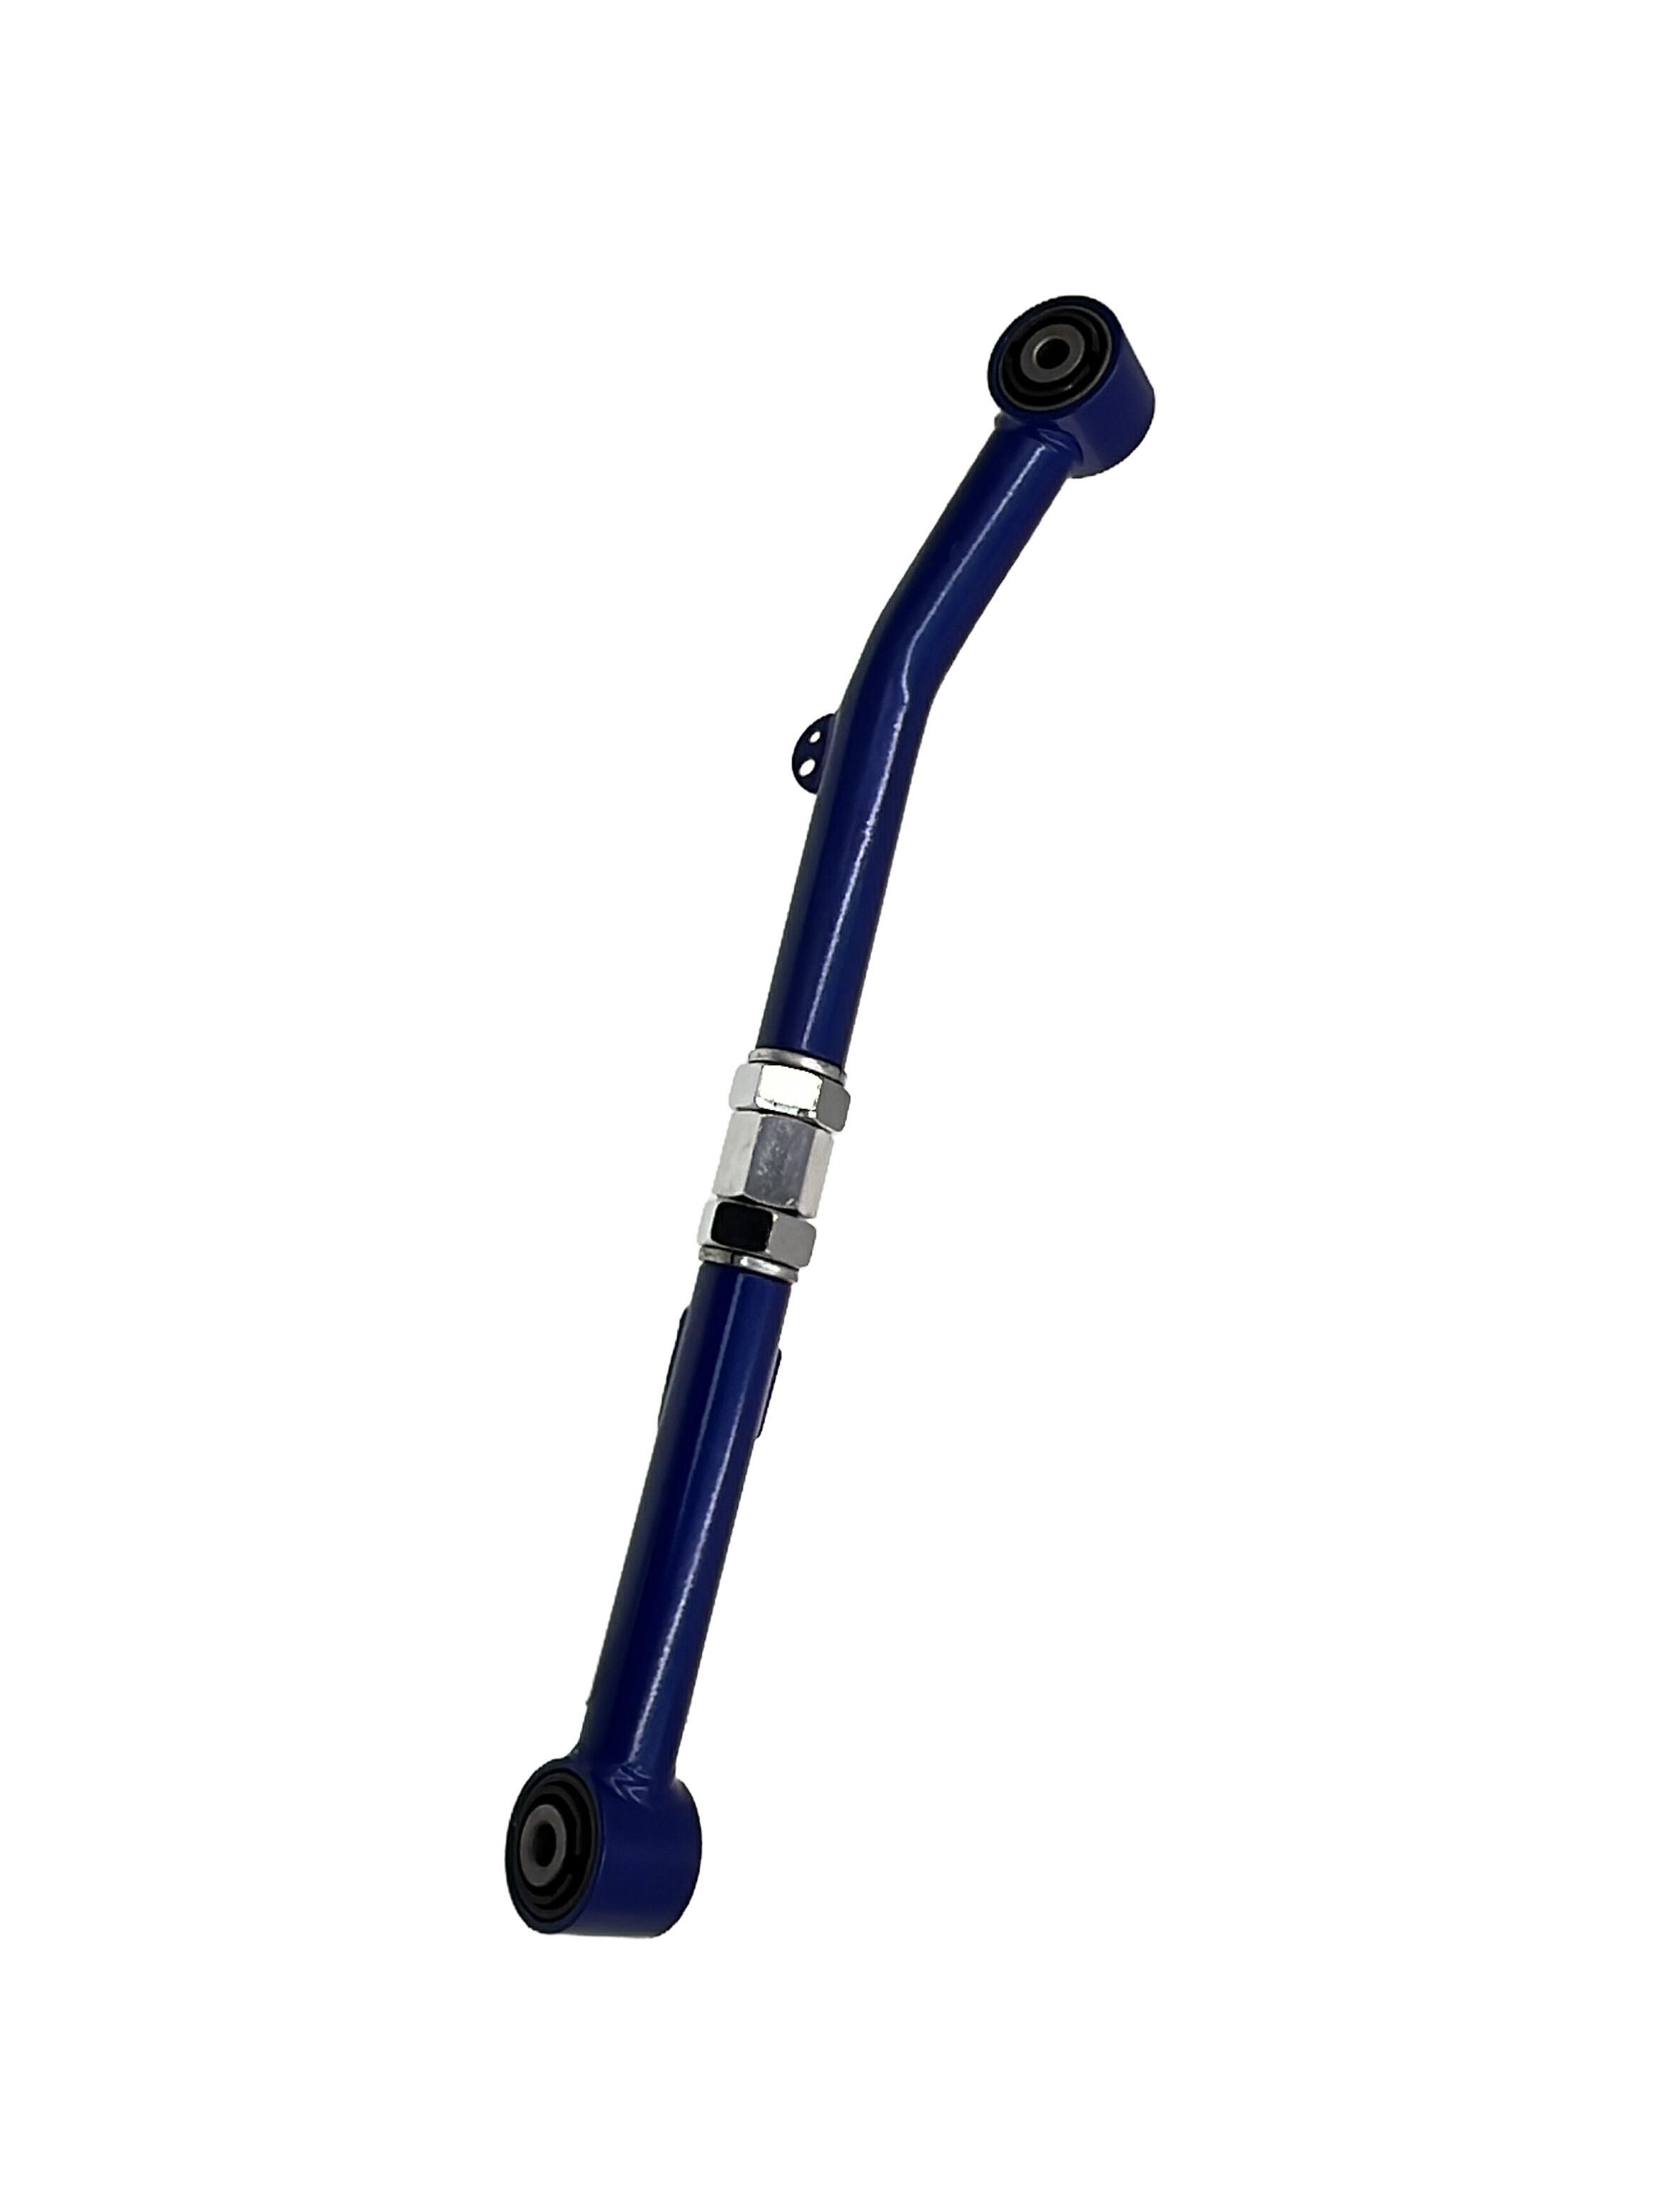
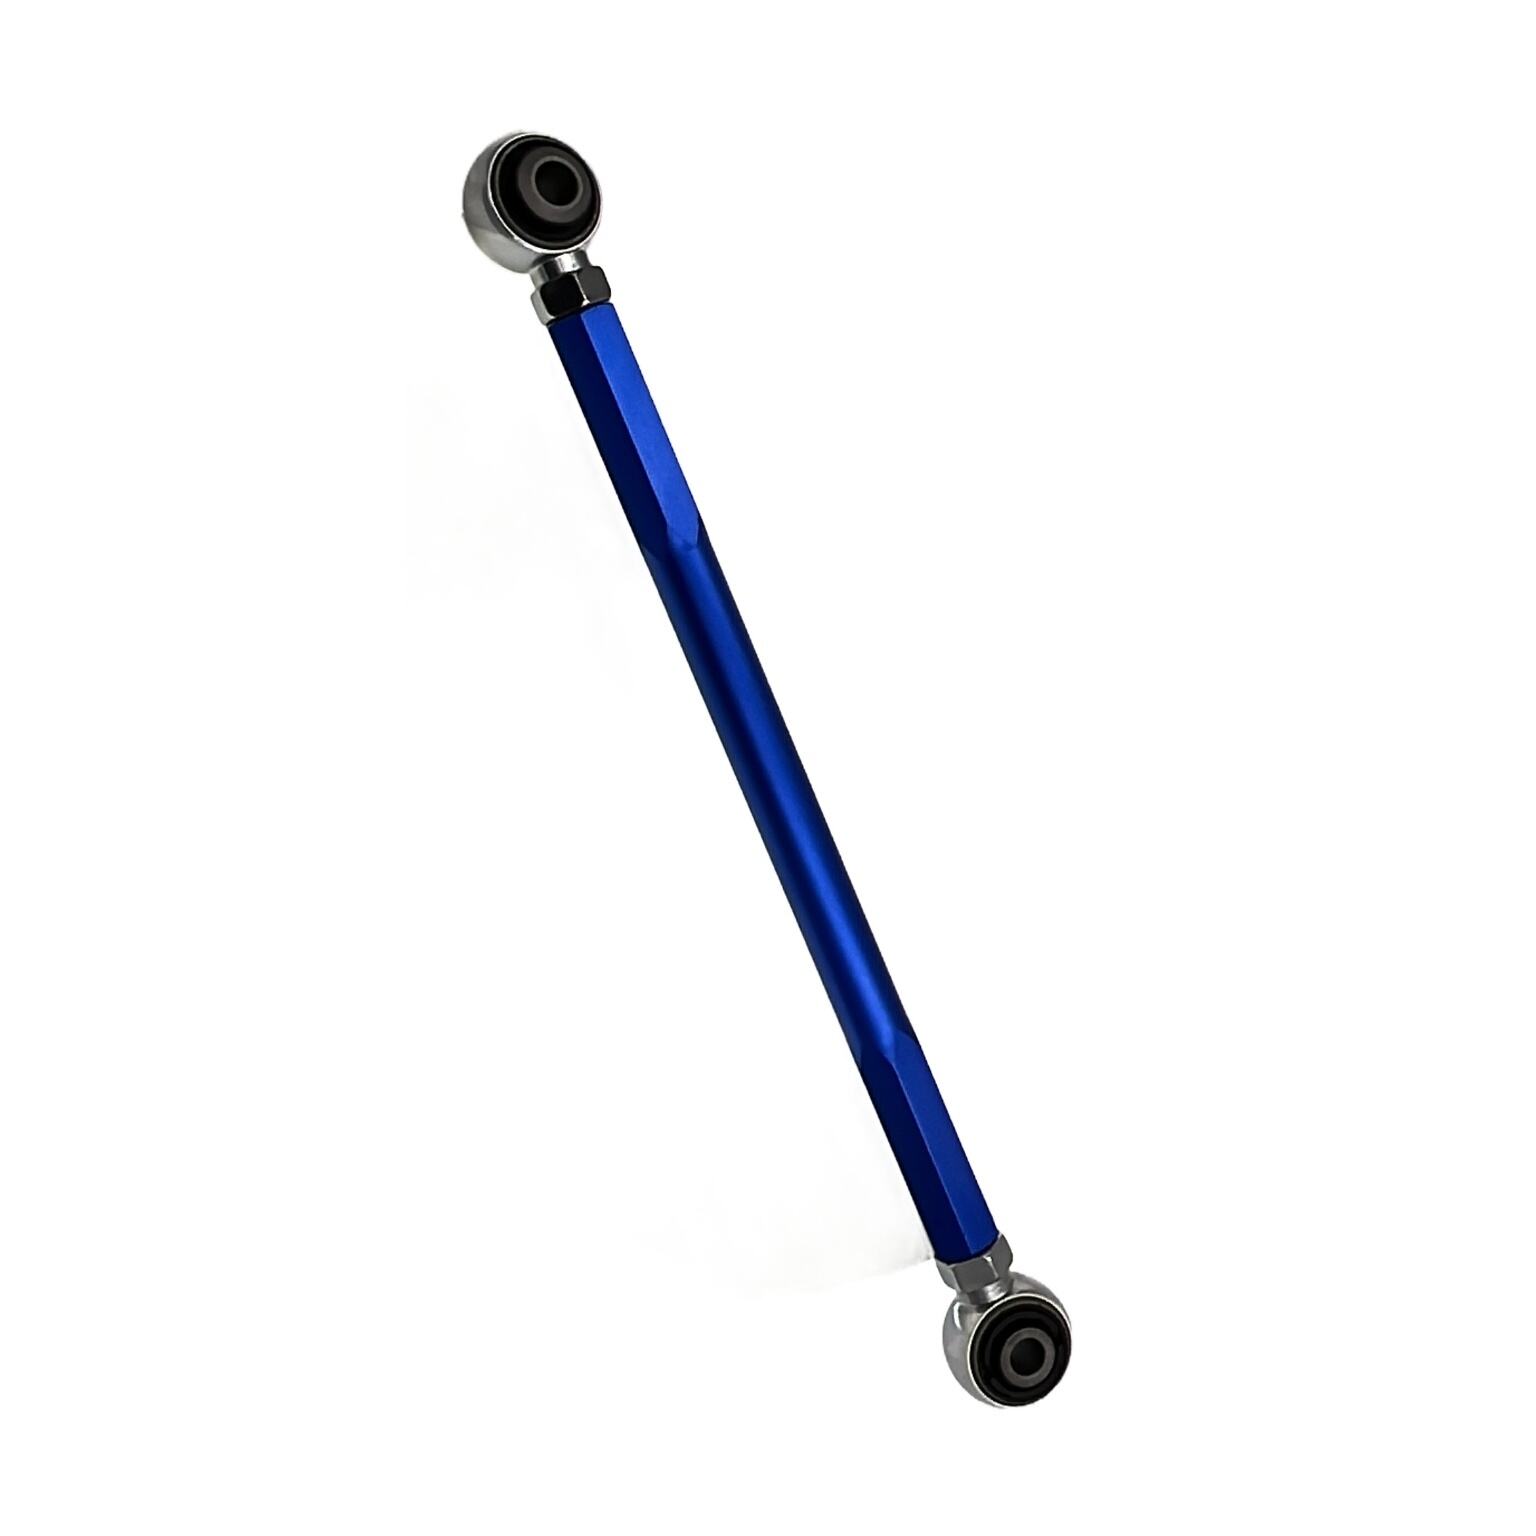
Selecting the Right Adjustable Control Arms
Choosing the appropriate adjustable control arms for your specific make and model is key to a successful installation. You should consider factors like material construction—steel or aluminum—adjustment range, and compatibility with your suspension geometry. Some adjustable control arms come preassembled, while others require assembly before installation. Be sure to select a set that matches your vehicle’s lift or lowering configuration to ensure the angles align properly after installation. Look for reputable manufacturers that provide installation instructions, customer support, and ideally, some degree of warranty coverage. Compatibility with aftermarket coilovers or lift kits is also important to avoid clearance issues or misalignment.
Preparing the Vehicle for Installation
Lifting and Securing the Vehicle
The first physical step involves lifting the car and supporting it securely to ensure a safe working environment. Begin by parking your vehicle on a flat, level surface and engaging the parking brake. Loosen the lug nuts before lifting, then use a hydraulic jack to raise the vehicle at its designated jacking points. Once elevated, place jack stands under solid points on the frame or suspension arms. Double-check that the car is stable before removing the wheels. Never rely solely on a jack to hold the vehicle up during installation of adjustable control arms, as this can be extremely dangerous. With the car securely positioned, you can begin working on the suspension components with confidence and safety.
Removing the Stock Control Arms
Before removing the factory-installed control arms, take a few pictures to reference their orientation and placement. Begin by unbolting the control arm from the frame mount and the knuckle. If your car has sway bar links attached to the control arm, disconnect those as well. You may need to use penetrating oil and a breaker bar to loosen stubborn or rusted bolts. Be cautious of spring pressure if you’re working on a suspension system that uses coil springs near the control arms. Once the control arm is free, carefully remove it and compare it to your new adjustable control arms to ensure proper fit and dimension. Lay them side by side and check for consistency in length and bushing size before proceeding with installation.
Installing the New Adjustable Control Arms
Aligning and Bolting the New Arms
With the old parts removed, it's time to install the new adjustable control arms into place. Start by loosely bolting the adjustable control arm to the frame or subframe, allowing some wiggle room for the other end to align properly. Connect the ball joint or knuckle side next, ensuring that all bushings are correctly seated and that the arm is free of tension before tightening. If the arm uses jam nuts or lockouts for alignment settings, leave them loose for now until the final adjustment. Ensure that any grease fittings are properly oriented for access during future maintenance. Torque all bolts to the manufacturer’s recommended specifications to prevent premature wear or damage. This step forms the mechanical foundation of your new suspension setup.
Adjusting Alignment Settings
Once the adjustable control arms are securely installed, you can begin dialing in your alignment settings based on your driving needs. Many arms offer threaded adjusters or shims to set camber and caster angles. It’s recommended to start with factory specifications if you’re unsure and fine-tune from there. For track use or aggressive cornering, you may opt for increased negative camber, while street setups often favor a more neutral configuration to reduce tire wear. Mark your adjustments as you go to maintain symmetry between the left and right sides. Keep in mind that these are rough settings—professional alignment is necessary afterward to guarantee accuracy and tire longevity. Adjustable control arms make future changes far easier, so don’t stress about perfecting it during the install.
Finalizing the Installation
Reinstalling Wheels and Lowering the Vehicle
After the adjustable control arms are torqued and adjusted, reinstall your wheels and hand-tighten the lug nuts. Slowly lower the vehicle back to the ground using the jack, and once it's resting on all four wheels, finish tightening the lug nuts to the manufacturer’s specs in a crisscross pattern. Check your clearances and ensure there are no contact points between the new control arms and other suspension or brake components. A quick bounce test can reveal if anything feels overly stiff or loose. Before driving, double-check that all bolts are tightened and that the adjustments haven’t shifted. This is a critical point to ensure that everything is safe before hitting the road or heading to a professional shop for final alignment.
Post-Installation Inspection and Maintenance
Once your adjustable control arms are installed, monitor your vehicle closely during the first few drives. Listen for any unusual noises such as clunks, rattles, or creaks, which may indicate improper torque or bushing movement. Inspect the arms again after about 100 miles of driving to ensure that all hardware remains tight and settings have not shifted. Periodic inspections should become part of your maintenance routine, especially if you drive in harsh conditions or adjust your suspension frequently. Lubricate any grease points regularly and keep an eye on bushing wear. Proper care of your adjustable control arms will ensure long-lasting performance and improve both comfort and control in your daily driving or motorsport applications.
FAQ
What are adjustable control arms used for?
Adjustable control arms are used to fine-tune a vehicle’s suspension geometry, including camber, caster, and toe alignment settings. They are commonly used in performance, off-road, and lowered applications to improve handling and tire wear.
Do I need an alignment after installing adjustable control arms?
Yes, a professional alignment is essential after installation to ensure correct suspension settings, even if you manually adjusted the arms. This step maximizes tire life and ensures optimal driving performance.
Can I install adjustable control arms myself?
Yes, many enthusiasts install adjustable control arms at home with basic tools and mechanical knowledge. However, safety precautions and post-installation alignment are critical to a successful and safe outcome.
How often should I check my adjustable control arms?
You should inspect adjustable control arms after the first few hundred miles and then regularly during oil changes or suspension adjustments. Check for wear, loose bolts, and proper alignment to ensure consistent performance.