
Professional control arms kit installation requires careful attention to detail, proper tools, and adherence to manufacturer specifications to ensure optimal vehicle performance and safety. Whether you're working on Audi A4, A6, S4, or Volkswagen Passat models, following established best practices during control arms kit installation can prevent premature wear, alignment issues, and costly comebacks that impact both customer satisfaction and shop profitability.

The complexity of modern suspension systems demands a systematic approach to control arms kit replacement that goes beyond basic mechanical skills. European vehicles, particularly those in the B5 platform family, feature sophisticated multi-link suspension designs where proper installation technique directly affects ride quality, handling characteristics, and component longevity. Understanding these best practices helps technicians deliver consistent results while minimizing the risk of installation-related problems.
Pre-Installation Preparation and Assessment
Vehicle Inspection and Documentation
Before beginning any control arms kit installation, conduct a thorough inspection of the existing suspension components to identify all worn or damaged parts. Document the current alignment settings, ride height measurements, and any unusual wear patterns on tires or suspension bushings. This baseline documentation helps verify that the new control arms kit will address the identified issues and provides reference points for post-installation verification.
Check the vehicle's service history to understand previous suspension work and identify any modifications that might affect the installation process. Pay particular attention to aftermarket components, spacers, or alignment adjustments that could impact how the new control arms kit integrates with the existing suspension geometry. This preparation phase often reveals additional components that should be replaced simultaneously to maximize the effectiveness of the control arms kit installation.
Tool and Equipment Verification
Verify that all necessary tools are available and in proper working condition before starting the control arms kit installation. This includes specialized tools such as ball joint separators, spring compressors, alignment equipment, and torque wrenches calibrated to manufacturer specifications. Having the right tools prevents installation delays and ensures that critical torque values can be achieved accurately during the control arms kit assembly process.
Organize the workspace to provide adequate clearance for vehicle lifting, component removal, and assembly procedures. Ensure that lifting equipment is properly rated for the vehicle weight and that safety stands are positioned correctly to support the vehicle during the extended installation process. A well-organized workspace contributes significantly to installation efficiency and technician safety throughout the control arms kit replacement procedure.
Component Handling and Assembly Techniques
Proper Component Storage and Handling
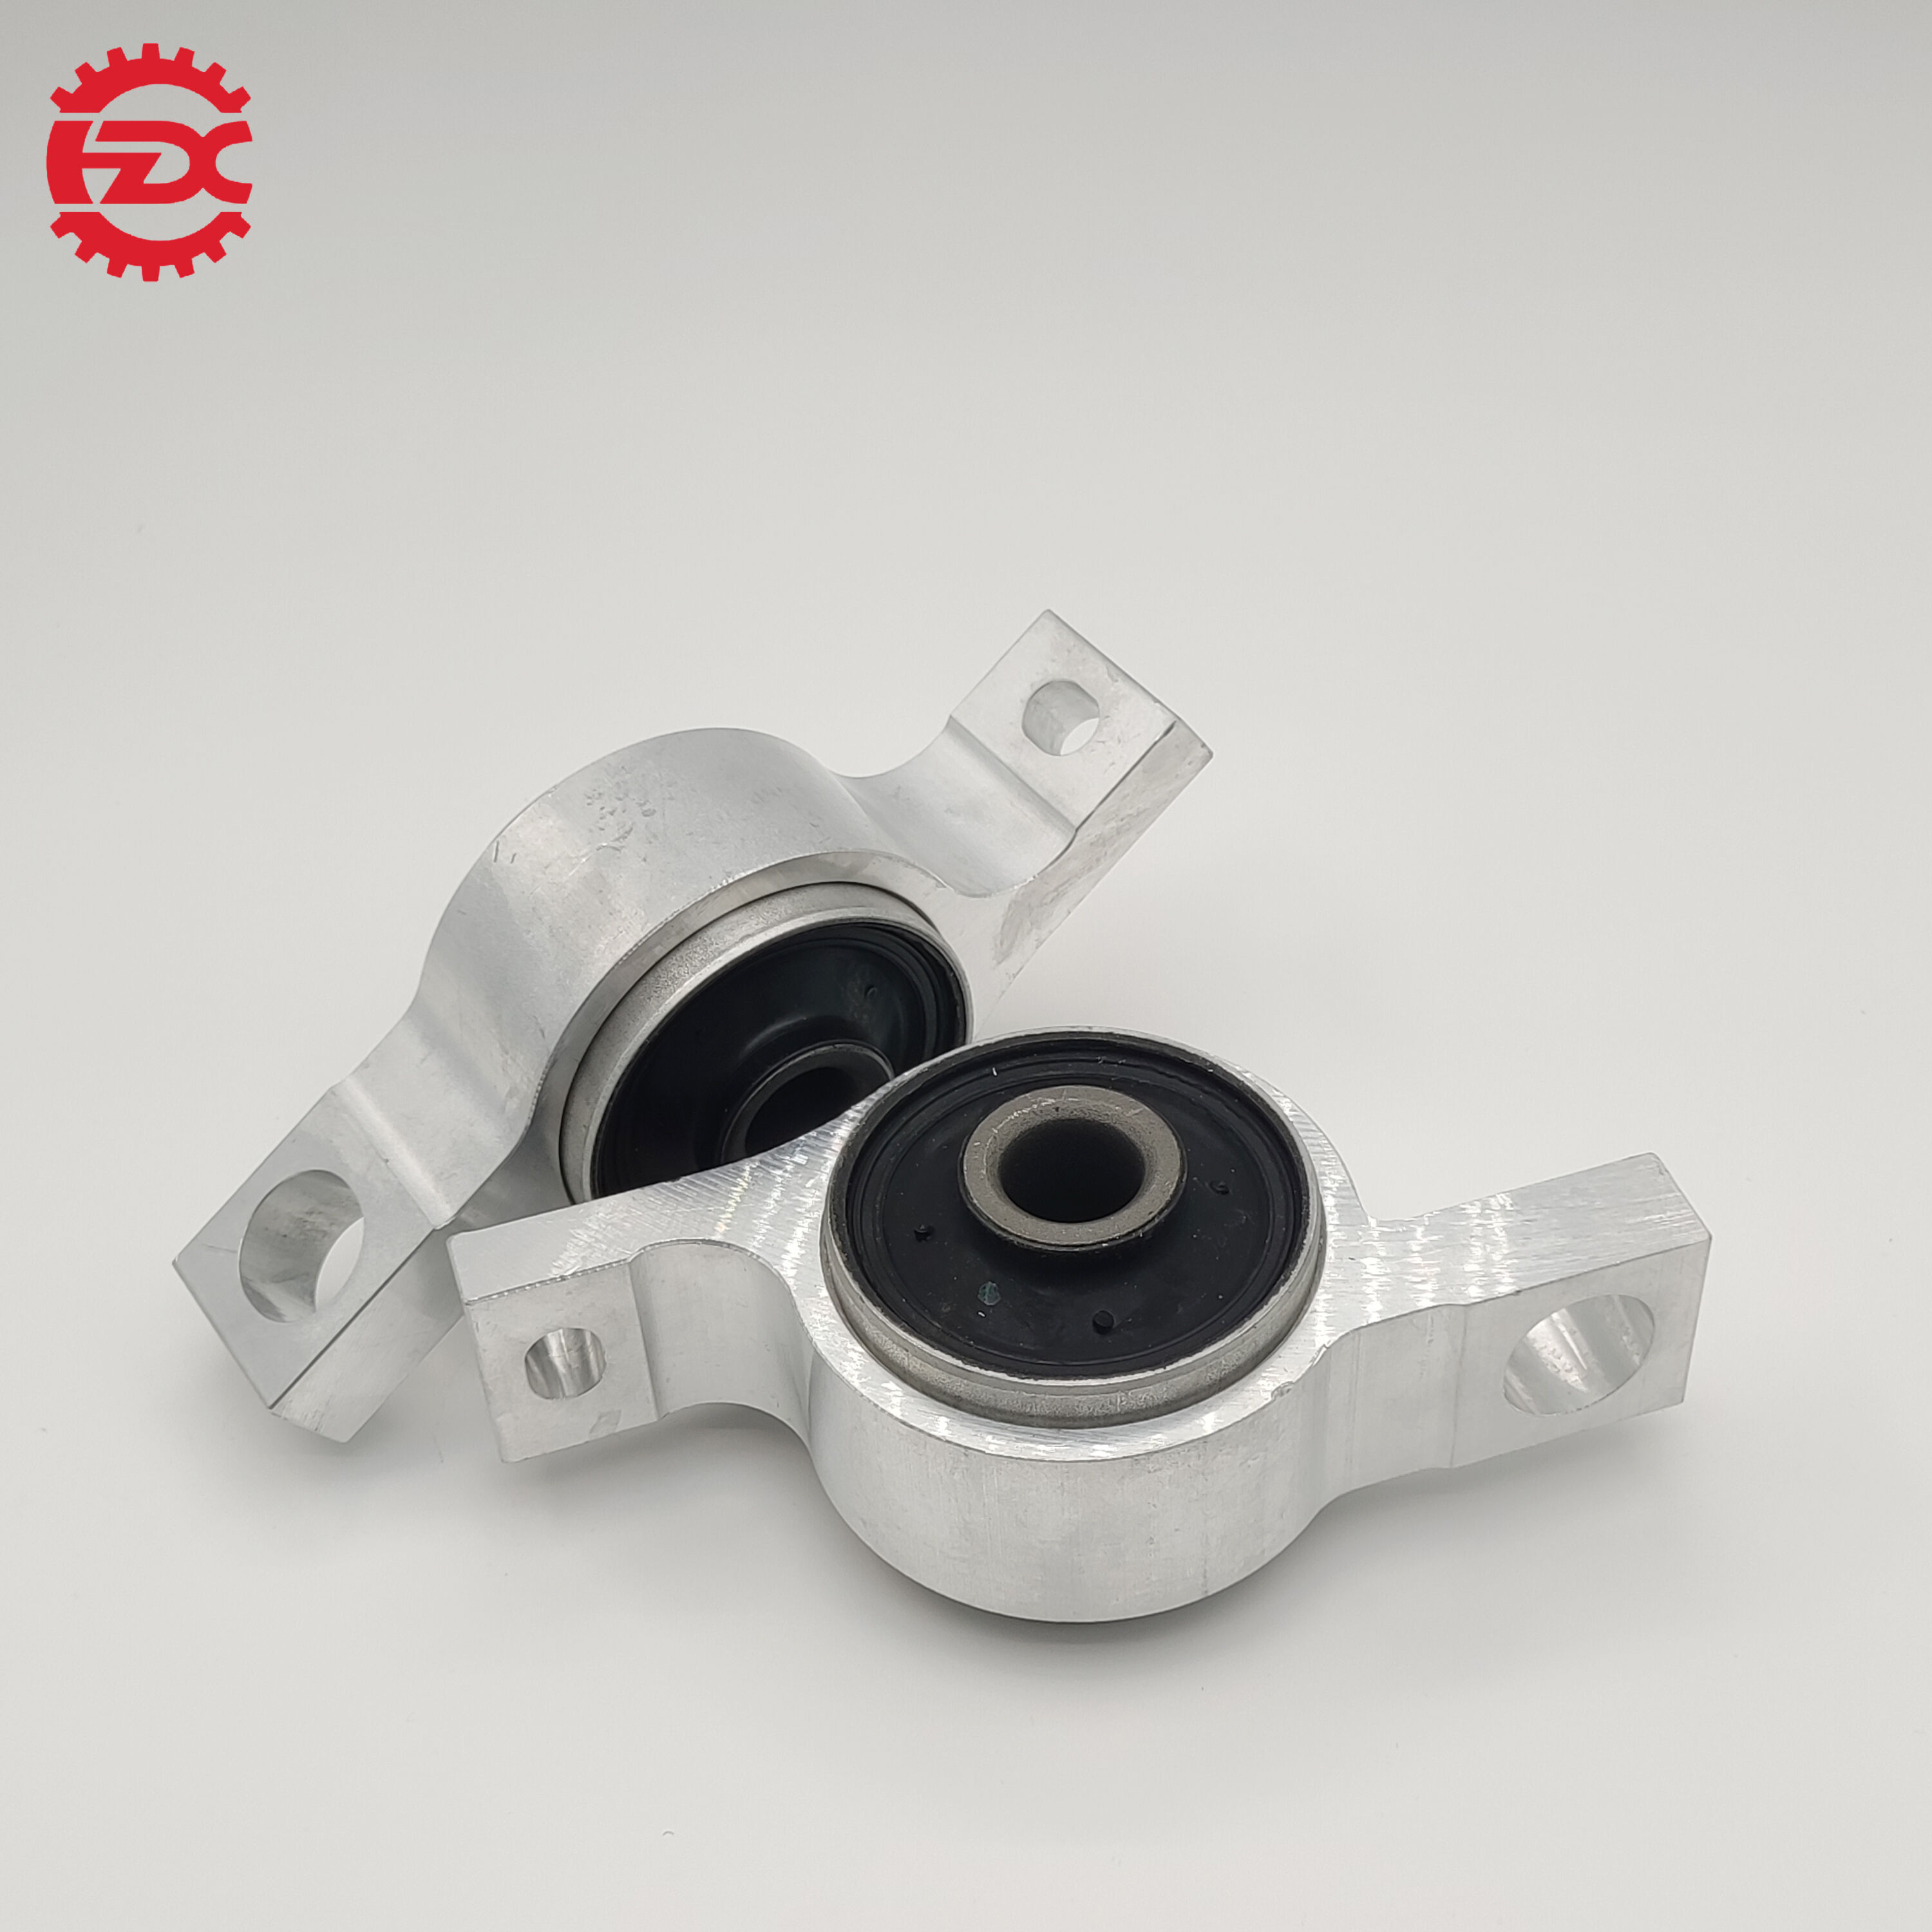
Handle all control arms kit components with care to prevent damage to protective coatings, rubber bushings, and precision-machined surfaces. Store components in a clean, organized manner that prevents contamination and allows for easy identification during assembly. New control arms should be kept in their protective packaging until ready for installation to maintain surface finish quality and prevent debris accumulation.
Inspect each component of the control arms kit for manufacturing defects, shipping damage, or missing hardware before beginning installation. Verify that all included bushings, bolts, and fasteners match the vehicle specifications and that no substitutions are necessary. This quality control step prevents installation delays and ensures that the completed installation meets manufacturer standards for performance and durability.
Bushing Installation and Orientation
Pay careful attention to bushing orientation during control arms kit installation, as incorrect positioning can cause binding, premature wear, and handling problems. Many modern control arms feature directional bushings with specific orientation requirements that must be followed exactly to achieve proper suspension geometry. Use appropriate installation tools to avoid damaging bushing materials or distorting the rubber elements during assembly.
Apply specified lubricants to bushing surfaces only where recommended by the manufacturer, as some modern bushing designs rely on dry installation to achieve proper friction characteristics. Over-lubrication can cause bushings to migrate in their housings, leading to noise, vibration, and premature failure. Follow the control arms kit manufacturer's specific instructions for each bushing type included in the assembly.
Installation Sequence and Torque Procedures
Systematic Component Removal
Remove old suspension components in a logical sequence that minimizes disruption to adjacent systems and maintains vehicle stability during the work process. Begin by disconnecting electrical connections for sensors or anti-roll bar links that might interfere with control arms kit access. Document the routing and connection points for all wiring to ensure proper reassembly after the new control arms kit installation is complete.
Support the suspension assembly properly during component removal to prevent damage to brake lines, sensor cables, or CV joints. Use appropriate separating tools to disconnect ball joints and tie rod ends without damaging the mating surfaces or protective boots. Clean all connection points thoroughly before installing the new control arms kit components to ensure proper fit and prevent contamination-related problems.
Torque Specification Compliance
Follow manufacturer torque specifications exactly during control arms kit installation, as proper fastener tension is critical for suspension performance and safety. Use calibrated torque wrenches appropriate for the fastener sizes and torque ranges specified for the control arms kit assembly. Verify that all torque values are applied with the vehicle at proper ride height and suspension components in their normal operating position.
Apply thread-locking compounds only where specified by the control arms kit manufacturer, as some applications require clean, dry threads for proper clamping force development. Over-application of thread-locking compounds can interfere with proper torque development and make future service more difficult. Document all torque values applied during installation to provide reference information for warranty claims or future service requirements.
Quality Control and Post-Installation Verification
Alignment and Geometry Checks
Perform a complete wheel alignment after control arms kit installation to ensure that suspension geometry meets manufacturer specifications and provides optimal tire wear characteristics. Modern alignment equipment can detect subtle geometry changes that might not be apparent during visual inspection but can significantly impact vehicle handling and component longevity. Set all alignment parameters to manufacturer specifications unless customer requirements or vehicle modifications dictate otherwise.
Verify that ride height measurements fall within specified ranges after the control arms kit installation is complete. Incorrect ride height can indicate improper component installation, worn springs, or other suspension problems that need attention. Document all alignment settings and ride height measurements to provide baseline information for future service and to verify that the installation has achieved its intended objectives.
Functional Testing and Road Evaluation
Conduct a systematic road test to verify that the control arms kit installation has eliminated the original symptoms and that no new problems have been introduced. Test the vehicle under various driving conditions, including low-speed maneuvering, highway cruising, and moderate cornering to ensure that all suspension functions operate normally. Listen for unusual noises and feel for vibrations or handling irregularities that might indicate installation problems.
Check that all safety systems function properly after control arms kit installation, particularly ABS, stability control, and ride height sensors that might be affected by suspension work. Verify that no warning lights are illuminated and that all electronic systems respond normally to driving inputs. Document the test results and any observations that might be relevant for future service or warranty considerations.
FAQ
How long does a complete control arms kit installation typically take?
A professional control arms kit installation typically requires 4-6 hours for most European vehicles, including alignment time. The actual duration depends on vehicle condition, access complexity, and whether additional components need replacement. Rushed installations often result in quality problems, so adequate time should be allocated for proper preparation, careful assembly, and thorough post-installation verification procedures.
What tools are essential for proper control arms kit installation?
Essential tools include calibrated torque wrenches, ball joint separators, spring compressors, and alignment equipment. Specialized pullers and installation tools specific to the vehicle platform may also be required. Using incorrect or improvised tools can damage components and compromise installation quality, making professional-grade equipment a necessity for reliable control arms kit service.
Should other suspension components be replaced when installing a control arms kit?
Related suspension components should be evaluated during control arms kit installation and replaced if they show significant wear. Common items include anti-roll bar links, tie rod ends, and suspension bushings that share similar service life characteristics. Replacing worn adjacent components during control arms kit installation prevents premature failure of the new parts and maximizes customer satisfaction.
How important is wheel alignment after control arms kit installation?
Wheel alignment after control arms kit installation is absolutely critical for proper vehicle operation and component longevity. Even minor alignment deviations can cause rapid tire wear, handling problems, and premature suspension component failure. Professional alignment equipment should be used to set all parameters to manufacturer specifications, ensuring that the control arms kit installation delivers optimal performance and durability.