
Vehicle suspension systems rely heavily on critical components that ensure smooth handling, stability, and safety during operation. Among these essential elements, the lower control arm stands as a fundamental piece that connects the wheel hub to the vehicle's chassis while allowing controlled vertical movement. Understanding proper maintenance procedures for this crucial component can prevent costly repairs and ensure optimal vehicle performance throughout its operational lifetime.
Modern automotive engineering demands precision in suspension component maintenance, particularly when addressing lower control arm functionality. Professional technicians must develop comprehensive diagnostic skills to identify potential issues before they escalate into major mechanical failures. The intricate relationship between the lower control arm and surrounding suspension elements requires systematic troubleshooting approaches that consider multiple variables affecting overall system performance.
Effective maintenance protocols begin with thorough visual inspections and progress through detailed mechanical assessments. Each step in the diagnostic process builds upon previous observations, creating a complete picture of the suspension system's current condition. This methodical approach ensures that underlying problems are addressed while preventing unnecessary component replacements and reducing overall maintenance costs.
Essential Diagnostic Procedures for Suspension Components
Visual Inspection Techniques
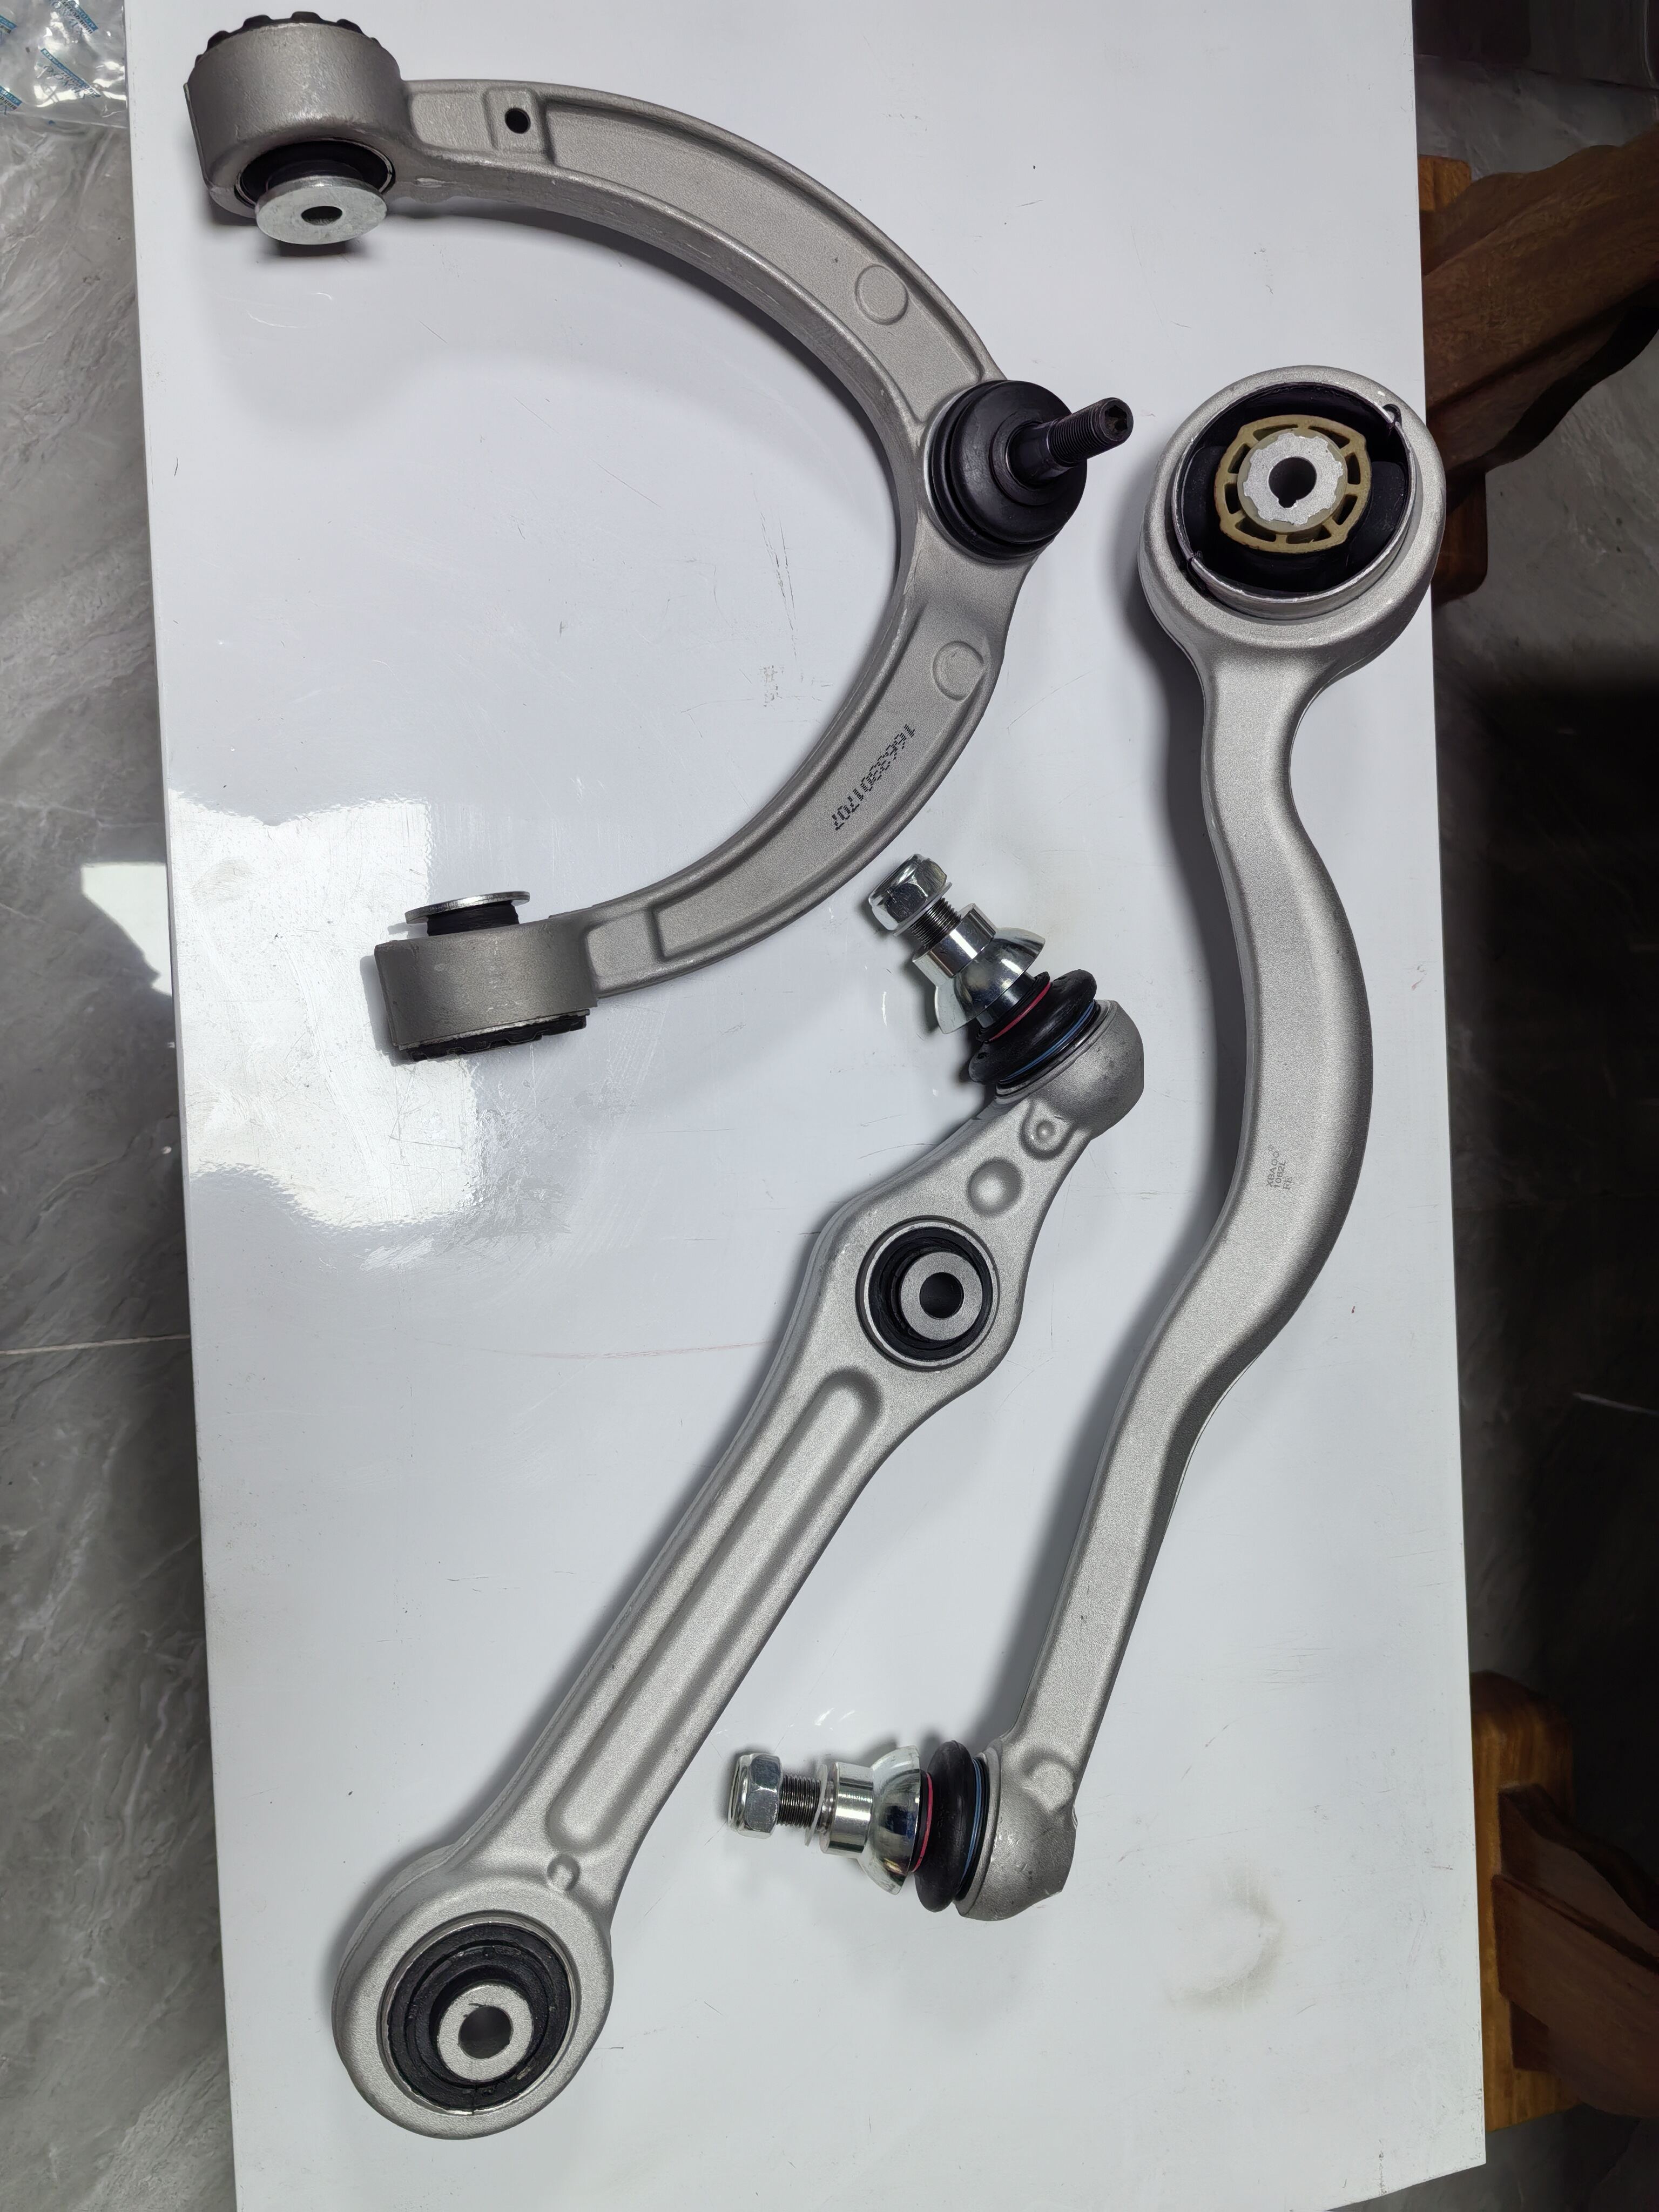
Initial assessment of lower control arm condition begins with comprehensive visual examination under proper lighting conditions. Technicians should inspect the control arm housing for visible cracks, corrosion, or deformation that might indicate structural weakness or previous impact damage. Surface rust patterns often reveal areas where protective coatings have failed, potentially compromising the component's long-term integrity and requiring immediate attention.
Bushing condition assessment forms a critical part of the visual inspection process, as deteriorated rubber bushings can significantly impact vehicle handling characteristics. Look for signs of cracking, splitting, or excessive deformation in the bushing material, which typically indicates that replacement is necessary. Oil contamination around bushings may suggest seal failures in nearby components, requiring expanded diagnostic procedures to identify the contamination source.
Ball joint inspection requires careful attention to protective boots and grease fittings, as these elements protect internal components from environmental contamination. Torn or damaged boots allow dirt and moisture to enter the joint assembly, accelerating wear and potentially causing premature failure. Document any observed damage with detailed notes and photographs for reference during repair planning and customer communication.
Mechanical Testing Methods
Physical testing of lower control arm assemblies involves systematic evaluation of movement ranges and resistance characteristics under controlled conditions. Use appropriate pry bars and testing equipment to assess ball joint play while monitoring for excessive movement that exceeds manufacturer specifications. Record measurements at multiple points throughout the joint's range of motion to identify irregular wear patterns or binding conditions.
Torque specifications for mounting hardware must be verified during mechanical testing procedures to ensure proper assembly integrity. Loose mounting bolts can cause dynamic stress concentrations that accelerate component wear and create handling irregularities. Use calibrated torque wrenches to verify that all fasteners meet specified values, and replace any hardware showing signs of thread damage or corrosion.
Load testing procedures help identify structural weaknesses in the lower control arm assembly that might not be apparent during visual inspection. Apply controlled forces using appropriate testing equipment while monitoring for deflection, cracking, or other signs of structural compromise. Document all test results with precise measurements and observations for inclusion in maintenance records and warranty documentation.
Common Failure Modes and Root Cause Analysis
Bushing Deterioration Patterns
Rubber bushing failures typically follow predictable patterns related to environmental exposure, operational stress, and maintenance history. Heat cycling from engine compartment temperatures causes gradual hardening of rubber compounds, reducing their ability to absorb vibrations and accommodate normal suspension movement. This deterioration process accelerates in vehicles operating in extreme temperature conditions or those with extended service intervals.
Chemical contamination from road salt, petroleum products, or hydraulic fluids can significantly accelerate bushing degradation beyond normal service expectations. Identify contamination sources through systematic inspection of nearby components, including power steering systems, brake assemblies, and engine oil containment systems. Address contamination sources before replacing damaged bushings to prevent rapid repeat failures.
Mechanical stress concentrations often develop at bushing interfaces due to improper installation techniques or component misalignment during assembly procedures. Verify that mounting hardware achieves proper clamping force without over-compression of rubber elements. Excessive compression can create stress risers that initiate cracking and lead to premature bushing failure under normal operating conditions.
Ball Joint Wear Characteristics
Ball joint wear progression follows distinct stages that can be identified through systematic inspection and testing procedures. Initial wear typically appears as slight increase in rotational resistance due to lubricant breakdown and initial surface contact changes. Progressive wear leads to increased clearances and eventual development of perceptible play that affects vehicle handling and tire wear patterns.
Lubrication system failures account for the majority of premature ball joint failures in lower control arm assemblies. Inadequate grease quantity or quality allows metal-to-metal contact that rapidly accelerates wear rates and generates debris contamination. Regular greasing intervals must be maintained according to manufacturer specifications, with particular attention to environmental conditions that may require more frequent service.
Impact damage from road hazards or improper service procedures can cause immediate ball joint failure or create conditions that lead to accelerated wear. Inspect for signs of impact damage including deformed housing, displaced seals, or altered geometry that might affect joint operation. Document impact damage carefully to support warranty claims and guide replacement part selection.
Preventive Maintenance Strategies
Scheduled Service Intervals
Establishing appropriate service intervals for lower control arm maintenance requires consideration of vehicle usage patterns, environmental conditions, and manufacturer recommendations. Heavy-duty applications typically require more frequent inspections due to increased stress levels and accelerated component wear. Urban driving with frequent stop-and-go conditions creates different wear patterns compared to highway operation, necessitating adjusted maintenance schedules.
Environmental factors such as road salt exposure, extreme temperatures, and contamination levels significantly impact appropriate service intervals for suspension components. Vehicles operating in corrosive environments require more frequent inspection and protective maintenance to prevent accelerated degradation. Document environmental exposure factors in maintenance records to support interval adjustments and warranty considerations.
Integration of lower control arm maintenance with other suspension service procedures improves efficiency and reduces overall maintenance costs. Coordinate inspections with tire rotation, brake service, and alignment procedures to maximize diagnostic opportunities while minimizing vehicle downtime. This integrated approach ensures comprehensive system evaluation and identifies potential issues before they affect vehicle safety or performance.
Proactive Component Protection
Protective coating applications can significantly extend lower control arm service life in harsh operating environments. Quality undercoating products provide barrier protection against salt corrosion while allowing normal component movement and thermal cycling. Apply protective coatings according to manufacturer specifications, ensuring complete coverage without interference with joint operation or bushing flexibility.
Grease service procedures require proper technique and quality lubricants to maximize ball joint and bushing service life. Use manufacturer-specified grease types and quantities to ensure optimal protection without over-greasing that can damage seals or attract contamination. Establish regular greasing schedules based on operating conditions and component accessibility considerations.
Hardware inspection and replacement programs help prevent secondary damage from failed fasteners or worn mounting components. Replace stretch bolts, damaged threads, and corroded hardware during routine service procedures to maintain proper assembly integrity. Use appropriate torque specifications and thread-locking compounds to ensure reliable long-term performance under dynamic loading conditions.
Professional Installation and Replacement Procedures
Proper Removal Techniques
Safe removal of lower control arm assemblies requires systematic procedures that protect surrounding components while ensuring technician safety throughout the process. Begin with proper vehicle lifting and support procedures using manufacturer-recommended lift points and supplementary jack stands. Verify that the suspension is properly unloaded before beginning disassembly to prevent sudden release of stored energy.
Special tools and equipment facilitate safe lower control arm removal while preventing damage to expensive surrounding components. Ball joint separators, press equipment, and alignment fixtures ensure controlled disassembly without impact damage or component distortion. Invest in quality tools that provide reliable performance and reduce the risk of injury or component damage during service procedures.
Documentation of original component positions and alignment settings supports accurate reassembly and reduces post-service adjustment requirements. Photograph component positions before disassembly and record alignment measurements for reference during installation procedures. This documentation proves invaluable when troubleshooting post-service issues or establishing baseline conditions for future maintenance intervals.
Installation Quality Control
Precise installation procedures ensure optimal lower control arm performance and longevity while maintaining vehicle safety standards. Follow manufacturer torque specifications exactly, using calibrated equipment to achieve proper clamping force without over-stressing components. Pay particular attention to sequence requirements for multi-bolt assemblies to ensure even stress distribution and proper component seating.
Quality control inspections during installation help identify potential problems before they affect vehicle operation or component longevity. Verify proper component alignment, adequate clearances, and correct hardware engagement throughout the assembly process. Check for interference conditions that might cause premature wear or create safety hazards during vehicle operation.
Post-installation verification procedures confirm proper system operation and identify any adjustments required for optimal performance. Perform comprehensive system checks including alignment verification, suspension travel testing, and dynamic evaluation under controlled conditions. Document all verification results and recommend additional services as needed to ensure complete system integrity.
Advanced Troubleshooting Techniques
Diagnostic Equipment Applications
Modern diagnostic equipment provides enhanced capabilities for evaluating lower control arm condition and identifying subtle problems that might escape visual inspection. Vibration analysis equipment can detect developing issues in bushings and joints before they become apparent through conventional testing methods. Use frequency analysis to identify characteristic signatures of different failure modes and track component condition over time.
Alignment equipment serves dual purposes in lower control arm diagnostics, providing precise measurements of suspension geometry while revealing wear patterns and component condition. Analyze alignment data trends over time to identify gradual changes that might indicate developing problems. Compare measurements between sides to identify asymmetric wear or damage that requires immediate attention.
Non-destructive testing methods including ultrasonic and magnetic particle inspection can reveal internal defects in lower control arm components that might not be visible through conventional examination. These techniques prove particularly valuable for high-mileage vehicles or those with suspected impact damage. Professional NDT services provide detailed component condition assessments that support repair-versus-replace decisions.
System Integration Analysis
Comprehensive suspension system analysis considers the interactions between lower control arm components and related systems including steering, braking, and drivetrain assemblies. Identify how changes in control arm geometry affect wheel alignment, steering response, and brake system operation. This holistic approach ensures that repairs address root causes rather than merely treating symptoms of larger system problems.
Load path analysis helps identify stress concentrations and wear patterns that might not be apparent through individual component inspection. Trace force transmission through the suspension system to understand how lower control arm loading changes with different driving conditions and vehicle configurations. This analysis supports component selection and modification decisions for specialized applications.
Performance monitoring systems provide ongoing assessment of suspension component condition through integrated vehicle systems and aftermarket monitoring equipment. Establish baseline measurements for comparison purposes and track changes over time to predict service requirements and optimize maintenance intervals. Advanced monitoring capabilities support predictive maintenance programs that minimize unexpected failures and reduce overall operating costs.
Cost-Effective Maintenance Solutions
Budget Planning Considerations
Effective budgeting for lower control arm maintenance requires understanding of component service lives, replacement costs, and labor requirements under different operating conditions. Develop realistic cost projections based on historical data, manufacturer specifications, and actual operational experience. Include provisions for unexpected repairs and system upgrades that might be required during major service intervals.
Fleet management strategies can significantly reduce per-unit maintenance costs through bulk purchasing, standardized procedures, and coordinated service scheduling. Negotiate favorable pricing for commonly used components and establish relationships with reliable suppliers who can provide technical support and warranty coverage. Standardize on proven component designs to reduce inventory requirements and simplify technician training.
Life-cycle cost analysis provides valuable insights for comparing different maintenance approaches and component quality levels. Consider total ownership costs including initial purchase price, service requirements, reliability factors, and disposal costs when evaluating options. Higher-quality components often provide better long-term value despite increased initial investment through reduced service frequency and improved reliability.
Efficiency Optimization Methods
Streamlined diagnostic procedures reduce service time while maintaining thorough evaluation standards necessary for reliable lower control arm assessment. Develop standardized inspection checklists and testing sequences that ensure consistent results across different technicians and service intervals. Use efficient tool arrangements and workspace organization to minimize service time without compromising quality standards.
Batch processing of similar repairs improves efficiency through reduced setup time and optimized resource utilization. Schedule multiple lower control arm services together when practical to take advantage of common procedures and tool requirements. This approach reduces overall labor costs while ensuring that all vehicles receive consistent service quality and attention to detail.
Technology integration including digital documentation, parts ordering systems, and customer communication tools streamlines administrative aspects of maintenance operations. Implement systems that reduce paperwork requirements while improving record keeping and customer service capabilities. Digital systems also support trend analysis and predictive maintenance programs that can significantly reduce long-term operating costs.
FAQ
How often should lower control arm components be inspected
Lower control arm inspection intervals typically range from 15,000 to 30,000 miles depending on vehicle type, operating conditions, and manufacturer recommendations. Severe service conditions including frequent towing, off-road operation, or exposure to road salt may require more frequent inspections to identify wear before it affects vehicle safety. Visual inspections can be performed during routine maintenance services, while detailed mechanical testing should occur according to established service schedules.
What are the most common signs of lower control arm problems
Common symptoms of lower control arm issues include unusual tire wear patterns, steering instability, clunking noises during suspension movement, and vibrations transmitted through the steering wheel. Uneven tire wear often appears as excessive wear on one edge of the tread pattern, indicating alignment problems caused by worn suspension components. Any combination of these symptoms warrants immediate professional inspection to determine the extent of component wear and required repairs.
Can lower control arm repairs be performed by amateur mechanics
Lower control arm replacement requires specialized tools, proper lifting equipment, and knowledge of suspension geometry principles that make it unsuitable for most amateur mechanics. The procedure involves working with high-stress components under significant spring loading, creating serious safety hazards without proper equipment and experience. Professional installation also ensures proper torque specifications, alignment procedures, and quality control measures necessary for safe and reliable operation.
How much does typical lower control arm maintenance cost
Lower control arm replacement costs vary significantly based on vehicle type, component quality, and local labor rates, typically ranging from $300 to $800 per side for complete assembly replacement. Premium vehicles and those requiring specialized components may incur higher costs, while basic maintenance services like greasing and inspection cost considerably less. Obtaining multiple estimates from qualified shops helps ensure competitive pricing while maintaining service quality standards necessary for reliable repairs.