
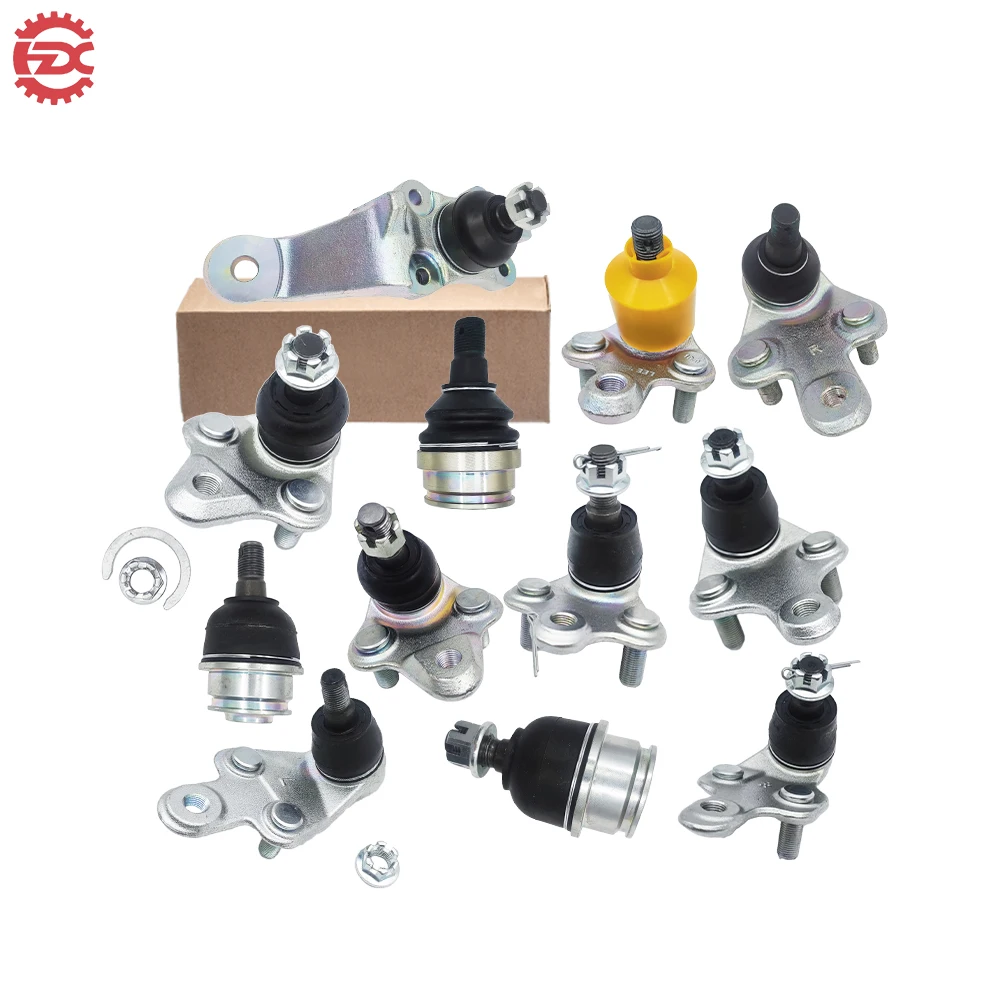
Maintaining your truck's suspension system requires attention to critical components that ensure safe handling and smooth operation. Among these essential parts, the lower ball joint stands as a crucial connection point between the wheel assembly and suspension framework. This component bears significant weight and stress during daily driving, making regular inspection and timely replacement vital for vehicle safety and performance.
Understanding when and how to upgrade your truck's lower ball joint can save you from costly repairs and potential safety hazards. Modern trucks place substantial demands on suspension components, especially when carrying heavy loads or navigating challenging terrain. Professional mechanics and experienced DIY enthusiasts recognize that proactive maintenance of these components prevents more extensive damage to steering and suspension systems.
The upgrade process involves careful assessment of existing components, proper tool selection, and methodical installation procedures. Quality replacement parts designed for your specific truck model ensure optimal performance and longevity. This comprehensive guide covers everything from initial diagnosis to final testing, providing the knowledge needed to complete this essential maintenance task successfully.
Understanding Lower Ball Joint Function and Importance
Mechanical Role in Suspension Systems
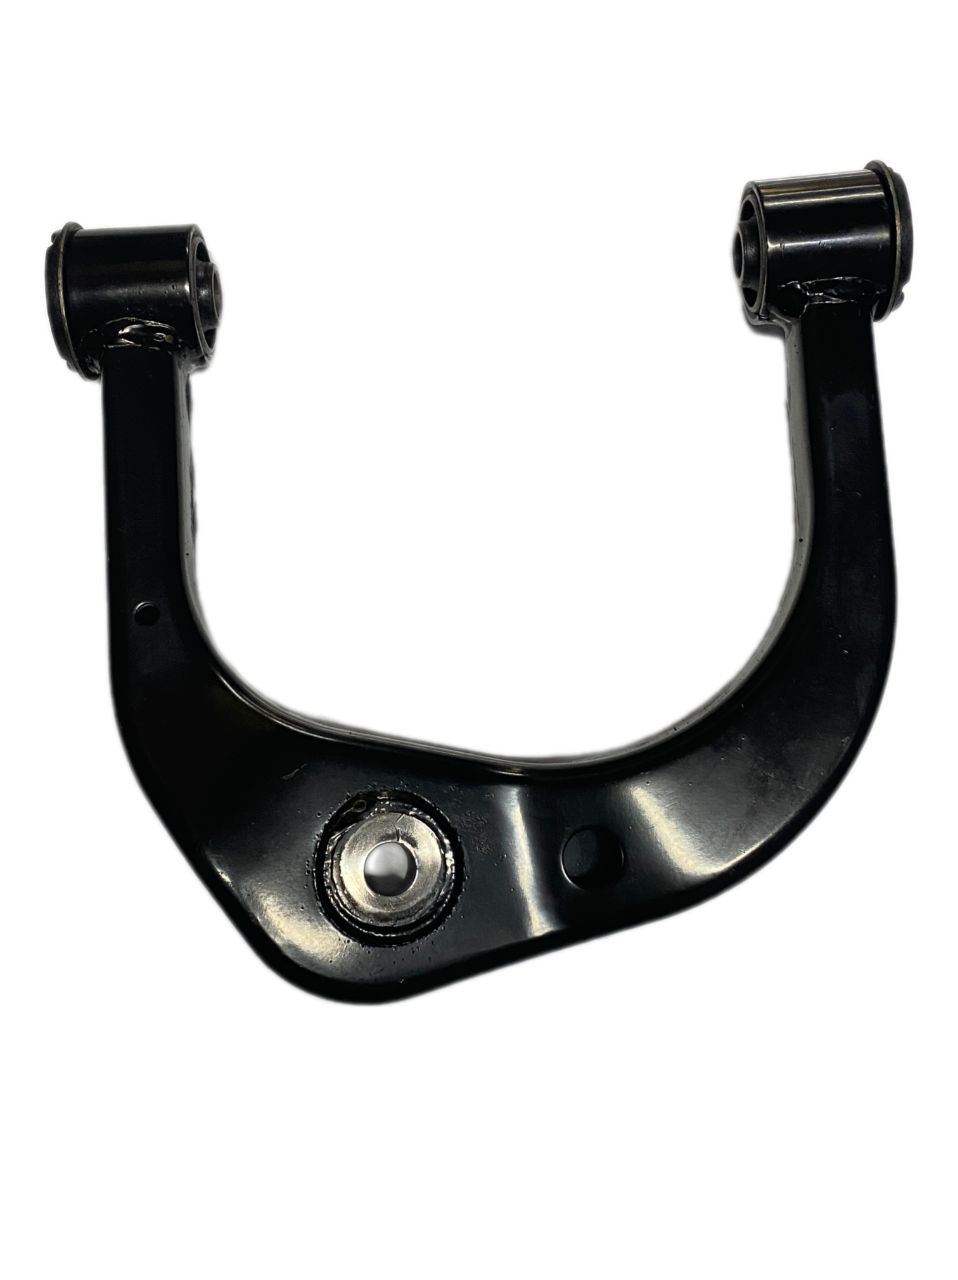
The lower ball joint serves as a pivotal connection between the control arm and steering knuckle, allowing controlled movement while maintaining structural integrity. This spherical bearing permits vertical wheel movement during suspension travel while enabling steering input from the driver. The joint must withstand both compressive forces from vehicle weight and lateral stresses during cornering maneuvers.
Modern truck suspensions rely heavily on these components to maintain proper wheel alignment and tire contact with road surfaces. The lower ball joint works in conjunction with upper ball joints or strut assemblies to create a coordinated suspension system. When functioning correctly, these joints provide smooth operation and precise steering response under various driving conditions.
Load-bearing characteristics vary significantly between different truck models and suspension designs. Heavy-duty trucks require more robust lower ball joint construction to handle increased payload capacity and towing demands. Understanding your specific vehicle's requirements ensures selection of appropriate replacement components that meet or exceed original equipment specifications.
Common Failure Modes and Warning Signs
Wear patterns in lower ball joint assemblies typically develop gradually over thousands of miles of operation. Initial symptoms often include subtle changes in steering feel or minor vibrations during braking. As deterioration progresses, more pronounced symptoms emerge, including clunking noises when traversing bumps or uneven surfaces.
Visual inspection reveals several telltale signs of impending failure, such as torn or damaged protective boots that allow contamination of internal components. Excessive play in the joint becomes apparent through physical testing, where movement beyond specification limits indicates replacement necessity. Grease leakage around the boot area suggests internal seal failure and subsequent lubrication loss.
Advanced wear conditions can result in complete separation of joint components, leading to catastrophic suspension failure and potential loss of vehicle control. Regular inspection intervals help identify problems before they reach critical stages, ensuring safe operation and preventing more extensive repair requirements.
Pre-Installation Assessment and Preparation
Diagnostic Procedures and Testing Methods
Proper diagnosis begins with a comprehensive visual inspection of the entire suspension assembly, checking for obvious damage or wear indicators. The lower ball joint requires specific testing procedures to accurately assess its condition and determine replacement necessity. Physical testing involves lifting the vehicle and checking for excessive movement in the joint assembly.
Professional mechanics utilize specialized tools such as ball joint separators and measurement gauges to evaluate joint condition objectively. The testing process includes checking both radial and axial play within manufacturer specifications. Temperature considerations also factor into diagnostic procedures, as joint behavior can vary significantly between cold and operating temperatures.
Documentation of test results helps track component deterioration over time and supports maintenance scheduling decisions. Photographic records of wear patterns and measurement data provide valuable reference information for future service intervals. This systematic approach ensures accurate assessment and appropriate timing for replacement procedures.
Tool Selection and Workspace Preparation
Successful lower ball joint replacement requires specific tools designed for suspension work, including ball joint presses, separators, and torque wrenches capable of handling high-specification fasteners. Quality tools ensure safe removal and installation while preventing damage to surrounding components. Socket sets, wrenches, and specialized pullers must match the specific requirements of your truck's suspension design.
Workspace organization contributes significantly to project success and safety during the upgrade process. Adequate lighting, stable work surfaces, and proper ventilation create optimal working conditions. Safety equipment including protective eyewear, gloves, and appropriate clothing protects against potential hazards during component removal and installation.
Parts preparation involves careful inspection of new components and verification of correct specifications for your specific vehicle application. Comparing new parts with removed components confirms proper fitment and identifies any potential compatibility issues before installation begins. This preparation phase prevents delays and ensures smooth project completion.
Step-by-Step Removal Process
Vehicle Preparation and Safety Procedures
Proper vehicle positioning on level ground with appropriate blocking prevents movement during the upgrade process. Jack stands rated for your truck's weight provide essential safety support while wheel chocks secure the vehicle against rolling. Disconnecting the battery prevents accidental electrical system activation during suspension work.
Wheel removal exposes the suspension components and provides necessary access for lower ball joint service. Brake caliper support becomes crucial when removing wheels, as hanging calipers can damage brake lines or hydraulic components. Wire ties or specialized hooks maintain proper caliper positioning throughout the procedure.
Initial component cleaning removes accumulated dirt and debris that could interfere with removal procedures or contaminate new parts. Penetrating oil applied to threaded fasteners helps prevent damage during removal, especially on vehicles exposed to road salt or harsh environmental conditions. This preparation phase establishes safe working conditions for the entire upgrade process.
Component Disassembly Techniques
Systematic removal of connected components provides necessary clearance for lower ball joint access. Tie rod ends, sway bar links, and other suspension connections require careful disconnection using appropriate tools and techniques. Each connection point demands specific procedures to prevent damage to threads or component surfaces.
Ball joint separation from the steering knuckle requires specialized tools designed to apply controlled pressure without damaging adjacent components. Fork-type separators and screw-type pullers offer different advantages depending on available clearance and joint design. Proper tool positioning prevents component damage and ensures safe separation.
Control arm removal procedures vary significantly between different suspension designs, requiring careful attention to manufacturer specifications and torque requirements. Some applications require complete control arm removal, while others allow in-place ball joint replacement. Understanding your specific truck's design determines the most appropriate removal approach.
Installation and Assembly Procedures
New Component Preparation and Fitting
New lower ball joint components require careful preparation before installation, including verification of proper lubrication and protective boot integrity. Pre-installation greasing ensures adequate lubrication from initial operation, while boot inspection confirms protection against contamination. Quality components include appropriate grease quantities and properly seated protective covers.
Fitment verification involves test-fitting new components before final installation to identify any potential interference or alignment issues. Proper thread engagement and component orientation prevent installation problems and ensure correct assembly geometry. This preparation phase allows correction of any issues before applying final torque specifications.
Surface preparation of mating components removes corrosion and debris that could prevent proper seating or create stress concentrations. Clean, properly prepared surfaces ensure optimal component contact and prevent premature failure due to installation defects. Thread preparation includes cleaning and appropriate lubrication to achieve accurate torque readings.
Assembly and Torque Specifications
Installation follows reverse removal procedures with careful attention to component alignment and proper assembly sequence. Lower ball joint installation requires precise positioning to ensure correct suspension geometry and optimal component interaction. Proper alignment prevents binding and ensures smooth operation throughout the suspension's range of motion.
Torque specifications must be followed exactly according to manufacturer requirements, using calibrated torque wrenches appropriate for the fastener sizes involved. Under-torquing can result in component loosening and potential failure, while over-torquing may damage threads or create stress concentrations leading to premature failure. Sequential torquing patterns ensure even loading distribution.
Final assembly includes reconnection of all previously removed components with proper torque application and component positioning. Each connection point requires verification of correct installation and appropriate fastener engagement. This systematic approach ensures complete and proper assembly of all suspension components.
Post-Installation Testing and Verification
Initial System Checks
Immediate post-installation testing begins with visual verification of proper component installation and clearance between moving parts. All fasteners receive final torque verification to confirm proper tightening and prevent potential loosening during initial operation. Protective boot positioning and integrity require inspection to ensure contamination protection.
System function testing includes manual manipulation of suspension components to verify smooth operation and absence of binding or interference. Joint movement should occur smoothly throughout the full range of motion without excessive resistance or unusual sounds. These initial checks identify potential assembly issues before road testing begins.
Brake system function requires verification after reassembly, including proper caliper positioning and brake line integrity. Pedal feel and stopping performance must meet normal operating standards before returning the vehicle to service. Any changes in brake system operation require immediate investigation and correction.
Road Testing and Performance Validation
Controlled road testing validates proper installation and system performance under actual operating conditions. Initial testing should occur at reduced speeds in a safe environment, gradually increasing to normal operating conditions as confidence in the repair builds. Steering response, suspension feel, and absence of unusual noises confirm successful installation.
Performance characteristics should match or exceed pre-repair conditions, with improved smoothness and reduced noise levels indicating successful component replacement. Any deviation from expected performance requires immediate investigation and potential re-inspection of the installation. Proper documentation of test results provides baseline information for future reference.
Extended testing over several hundred miles allows new components to seat properly and reveals any potential issues not apparent during initial testing. Regular inspection intervals during this break-in period help identify any developing problems early and ensure long-term component reliability.
Maintenance and Longevity Considerations
Service Intervals and Inspection Schedules
Regular inspection schedules help maximize lower ball joint service life and prevent unexpected failures. Recommended inspection intervals vary based on vehicle usage patterns, with severe service conditions requiring more frequent checks. Visual inspections during routine maintenance identify early wear indicators and allow proactive replacement planning.
Lubrication maintenance plays a crucial role in component longevity, with grease-able joints requiring periodic service according to manufacturer specifications. Quality lubricants appropriate for the operating environment ensure optimal protection against wear and corrosion. Proper lubrication schedules prevent premature failure due to inadequate or contaminated lubrication.
Documentation of inspection results and maintenance activities provides valuable information for tracking component performance and planning future service requirements. Systematic record-keeping helps identify patterns that may indicate underlying problems or opportunities for improved maintenance procedures.
Performance Optimization Strategies
Component selection significantly impacts service life and performance characteristics, with premium parts often providing extended service intervals and improved durability. Understanding the relationship between component quality and total cost of ownership helps make informed purchasing decisions. Higher-quality components may justify increased initial costs through extended service life and improved reliability.
Environmental protection measures help extend component life in harsh operating conditions. Regular cleaning removes corrosive materials, while protective coatings can provide additional corrosion resistance. Understanding your truck's operating environment allows implementation of appropriate protection strategies.
System-wide maintenance approaches recognize the interconnected nature of suspension components and address multiple elements simultaneously. Comprehensive maintenance programs ensure optimal system performance and prevent cascading failures that can result from neglecting related components.
FAQ
How often should lower ball joints be replaced on trucks
Lower ball joint replacement intervals vary significantly based on vehicle usage, load conditions, and environmental factors. Most truck manufacturers recommend inspection every 12,000 to 15,000 miles, with typical replacement occurring between 70,000 and 100,000 miles under normal operating conditions. Heavy-duty applications or severe service conditions may require more frequent replacement, sometimes as early as 50,000 miles. Regular inspection allows early detection of wear and prevents unexpected failures.
What are the costs associated with professional versus DIY replacement
Professional lower ball joint replacement typically costs between $300 and $600 per side, including parts and labor, depending on vehicle complexity and regional labor rates. DIY replacement can reduce costs to $50-150 per side for quality parts, but requires significant tool investment and mechanical expertise. Time investment for DIY projects ranges from 4-8 hours depending on experience level and vehicle accessibility. Consider your skill level and available time when making this decision.
Can driving continue safely with a worn lower ball joint
Driving with a worn lower ball joint poses serious safety risks and should be avoided whenever possible. Early-stage wear may allow limited driving to reach service facilities, but advanced wear conditions can result in catastrophic failure and loss of vehicle control. Warning signs including excessive play, unusual noises, or steering irregularities indicate immediate attention is required. When in doubt, have the vehicle towed to prevent potential accidents or additional damage.
What tools are absolutely necessary for this repair
Essential tools include a ball joint separator or pickle fork, socket set with appropriate sizes, torque wrench capable of high specifications, and jack stands rated for your vehicle's weight. Additional specialized tools may include ball joint presses for press-fit applications and alignment tools for proper reassembly. Quality tools ensure safe removal and installation while preventing damage to expensive components. Consider borrowing or renting specialized tools if performing this repair infrequently.