
Guide to Implementing a Performance Control Arms Upgrade
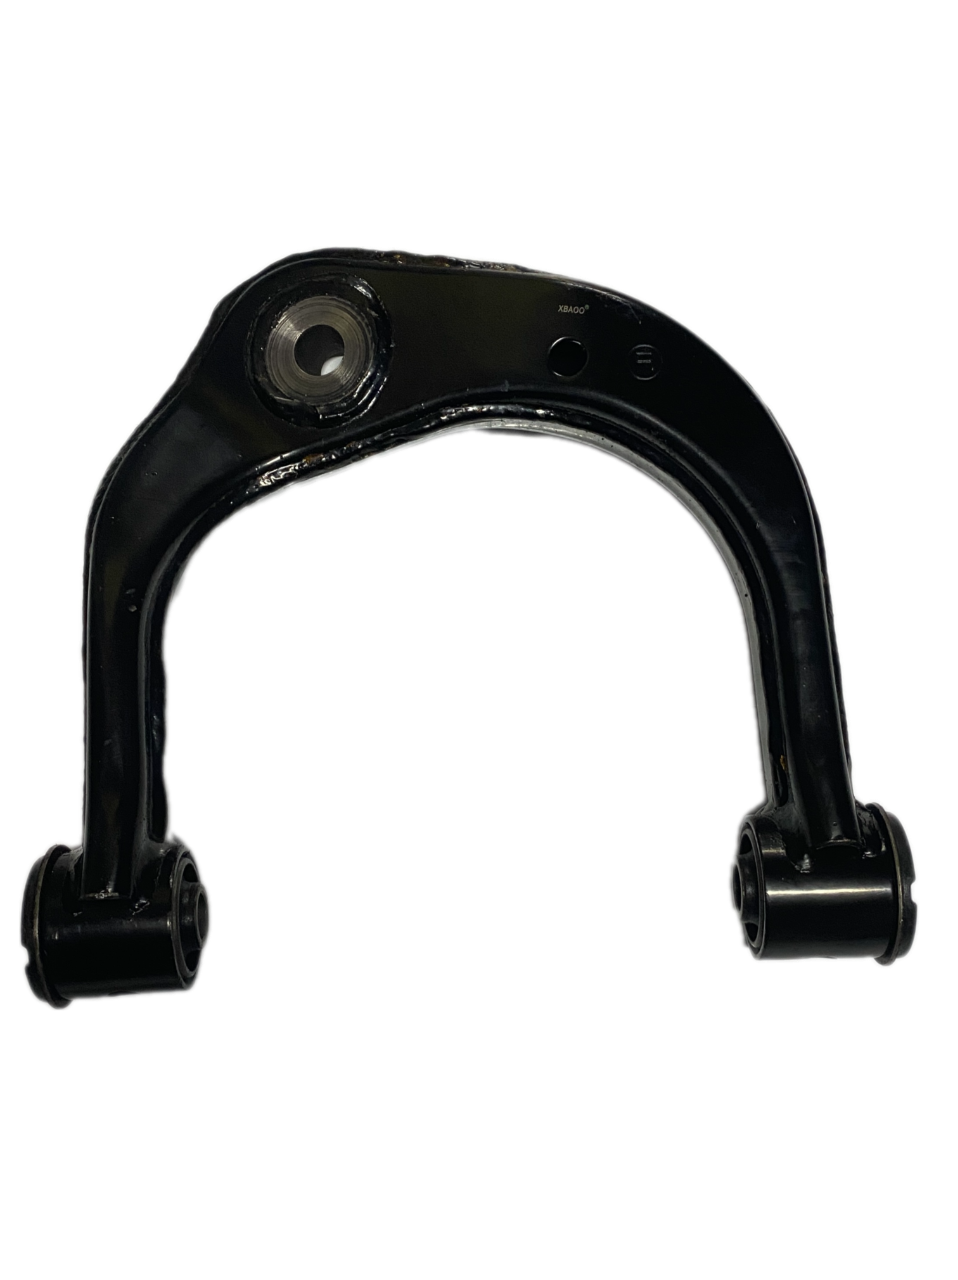
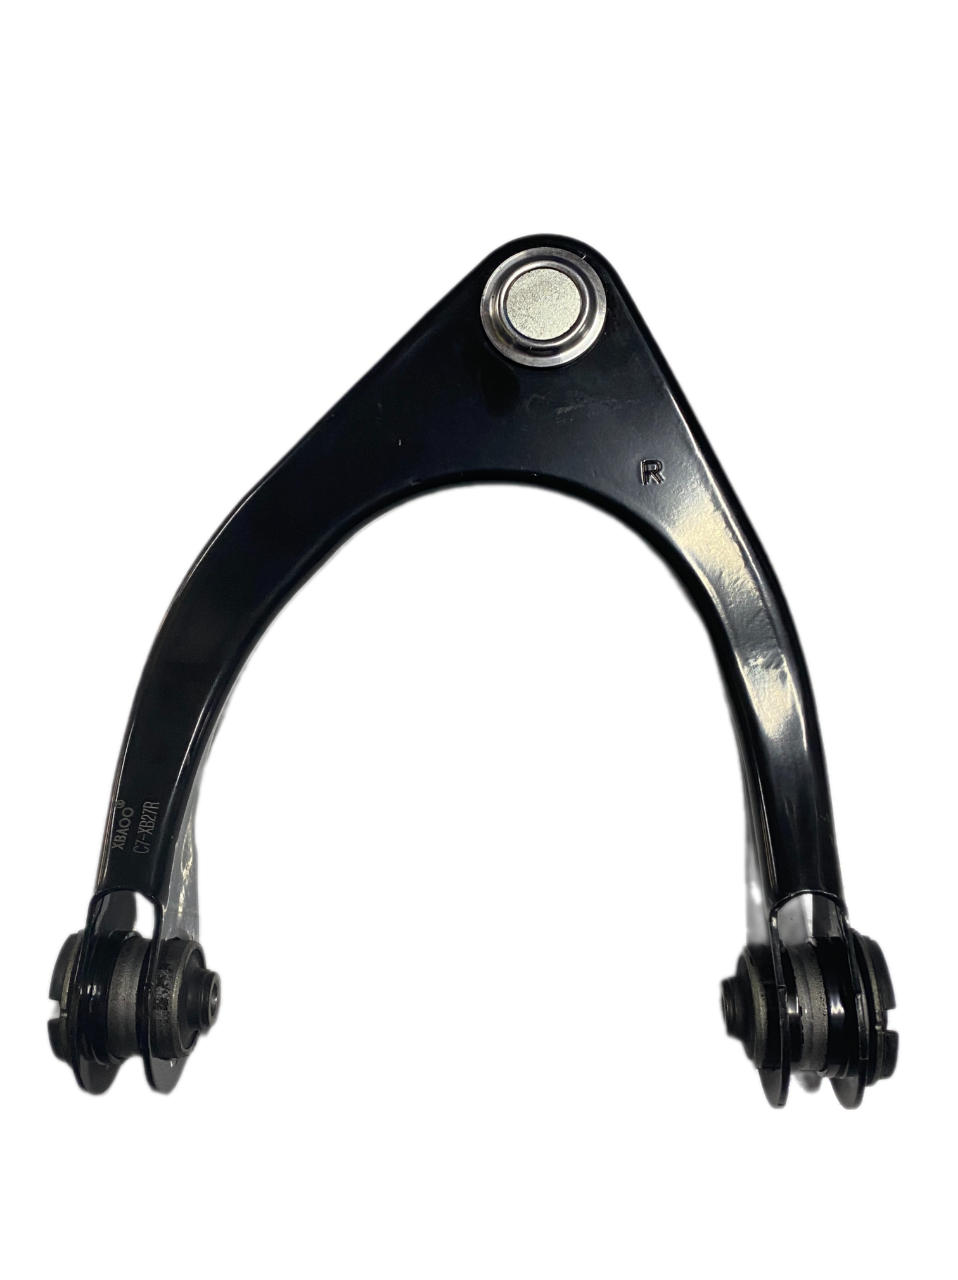
Control arms are critical parts of a vehicle’s suspension system, linking the frame to the wheels and managing how the wheels move during acceleration, braking, and cornering. Stock control arms are designed for average use—daily driving, moderate loads, and standard road conditions. But for drivers who want better handling, off-road capability, or to handle modifications like larger tires, a performance control arms upgrade can make a big difference. This guide walks you through every step of implementing a performance control arms upgrade, from knowing when to upgrade to post-installation checks, ensuring you get the most out of your new parts.
Why Upgrade to Performance Control Arms?
Before diving into the upgrade process, it’s important to understand why performance control arms are worth the investment. Stock control arms are often made from thin steel or even plastic, with soft bushings that prioritize comfort over precision. While this works for casual driving, it falls short in scenarios that demand more from the suspension:
- Better handling: Performance control arms are stiffer and more precise, reducing “play” in the suspension. This means the wheels stay aligned better during hard cornering, giving you more control and reducing body roll.
- Durability: They’re built with stronger materials (like high-strength steel or aluminum) and reinforced designs, making them resistant to bending or breaking—critical for off-roading, racing, or towing heavy loads.
- Adjustability: Many performance control arms are adjustable, letting you fine-tune wheel angles (camber, toe) after modifications like lifting, lowering, or adding larger tires. This prevents uneven tire wear and maintains optimal performance.
- Reduced wear on other parts: Stiffer bushings and stronger construction in performance control arms reduce stress on ball joints, tie rods, and the axle, extending the life of these components.
In short, upgrading control arms transforms your vehicle’s suspension from “good enough” to “optimized” for your specific needs, whether that’s track days, off-road trails, or just a more responsive daily drive.
Choosing the Right Performance Control Arms
Not all performance control arms are the same. The right set depends on your vehicle, how you use it, and your goals. Here’s what to consider:
- Vehicle type: Trucks, cars, and SUVs have different suspension setups. A performance control arm for a off-road truck needs to handle impacts from rocks, while one for a sports car prioritizes lightness and precision. Check that the control arms are designed for your make and model (e.g., “fits 2020+ Jeep Wrangler” or “compatible with Honda Civic”).
-
Material:
- High-strength steel: The most common choice for durability. It’s strong, affordable, and works well for off-roading or towing. It’s slightly heavier than other materials but offers the best impact resistance.
- Aluminum: Lighter than steel, making it ideal for performance cars where reducing unsprung weight (weight on the wheels) improves handling and acceleration. It’s less resistant to heavy impacts, so it’s better for street or track use, not extreme off-roading.
- Tubular vs. stamped: Stamped control arms (flat, pressed steel) are similar to stock but thicker. Tubular control arms (hollow, cylindrical) are lighter and stiffer, offering better performance for racing or off-roading.
- Adjustability: If you’ve modified your vehicle (lifted, lowered, larger tires), choose adjustable control arms. They let you tweak length or angle to correct alignment, preventing tire wear and poor handling. Fixed performance control arms work well if your vehicle is stock but you want better durability.
- Bushings and ball joints: Performance control arms often come with upgraded bushings (polyurethane instead of rubber) for stiffer, more precise movement. Some include high-quality ball joints (the pivot points) pre-installed—look for these to avoid extra costs.
Read reviews from drivers with similar vehicles and uses. For example, if you off-road a Toyota Tacoma, look for control arms praised for withstanding rock crawls. If you race a Mazda Miata, prioritize lightweight aluminum options.
Pre-Installation Preparation
Installing performance control arms requires some prep work to ensure safety and success. Rushing this step can lead to mistakes, damaged parts, or even injury.
- Gather tools: You’ll need a jack and jack stands (to lift and secure the vehicle), socket wrenches, a torque wrench (critical for proper tightening), a pry bar (to separate ball joints from the wheel hub), and possibly a bushing press (if replacing bushings). Check the control arm manufacturer’s instructions for any special tools.
- Safety first: Park on a flat, solid surface (concrete, not dirt). Use jack stands to support the vehicle—never rely on a jack alone. Disconnect the battery if working near electrical components, and wear gloves and eye protection to avoid cuts from sharp metal.
- Inspect the suspension: Before removing old control arms, check for other worn parts. If ball joints, tie rods, or bushings are already damaged, replace them now—installing new control arms with worn components wastes your upgrade. Look for signs of wear: cracks, rust, excessive play (wiggle the wheel to check), or leaking grease from ball joints.
- Measure stock settings: If your control arms are adjustable, measure the length of your stock control arms and note wheel angles (camber, toe) using a simple alignment tool or by marking positions with tape. This gives you a starting point for adjustments later.
Step-by-Step Installation
While the exact steps vary by vehicle, the process for installing performance control arms follows a similar pattern. Always refer to your vehicle’s service manual for model-specific details.
- Lift and secure the vehicle: Use a jack to lift the rear or front (depending on which control arms you’re replacing) and place jack stands under the frame. Lower the vehicle onto the stands so the wheels hang freely.
- Remove the wheel: Loosen the lug nuts, then remove the wheel to access the control arms.
- Disconnect components attached to the control arm: This includes the ball joint (connects to the wheel hub) and the frame mounts (where the control arm attaches to the vehicle’s frame). Use a pry bar or ball joint separator to disconnect the ball joint—be careful not to damage the rubber boot (it protects the joint from dirt).
- Remove the old control arm: Unbolt the frame mounts (usually 2–3 bolts) and lift out the old control arm. Take note of how bushings or washers are positioned—you’ll need to replicate this with the new arm.
- Prepare the new performance control arm: If it doesn’t come with bushings or ball joints pre-installed, press in new ones using a bushing press. Apply a thin layer of grease to ball joints to ensure smooth movement.
- Install the new control arm: Position it in place, aligning the frame mounts and ball joint. Hand-tighten the bolts to hold it in place—don’t fully tighten yet.
- Reconnect components: Attach the ball joint to the wheel hub and rebolt any other parts (like sway bar links) that connect to the control arm.
- Tighten bolts to spec: Use a torque wrench to tighten all bolts to the manufacturer’s specifications (found in your vehicle’s manual). Over-tightening can strip threads; under-tightening can cause looseness.
- Repeat for the other side: Most vehicles have two control arms (left and right)—repeat the process for the second arm.
- Reinstall the wheel: Tighten lug nuts to the correct torque.
Post-Installation: Alignment and Testing
Installing new performance control arms changes the suspension geometry, so alignment is critical. Even if you kept the same length as stock, slight differences in design can throw off camber, toe, or caster angles.
- Get a professional alignment: A shop with laser alignment tools can adjust angles to match your vehicle’s specs (or modified specs, if you lifted/lowered it). This step prevents uneven tire wear and ensures the vehicle handles as intended. Expect to pay $100–$200 for a full alignment.
- Test drive gradually: Start with short, slow drives to check for issues. Listen for clunking or rattling (signs of loose bolts) and feel for pulling to one side (misalignment). If something feels off, stop and recheck your installation.
- Fine-tune adjustable arms: If you have adjustable control arms, use the alignment results to make tweaks. For example, if camber is too positive (wheel tilts out), shorten the control arm slightly to correct it. Refer to the manufacturer’s guide for adjustment steps.
Maintenance Tips for Longevity
Performance control arms are built to last, but proper maintenance keeps them working well for years:
- Inspect regularly: Check for cracks, rust, or loose bolts every 6 months (more often if off-roading). Look for signs of bushing wear, like excessive movement or cracking rubber.
- Lubricate moving parts: Grease ball joints and adjustable joints every 10,000 miles to prevent friction and corrosion. Use a grease gun with the same type of grease recommended by the manufacturer.
- Clean after off-roading: Mud, sand, and debris can wear down bushings and ball joints. Rinse control arms with water (avoid high-pressure sprays on bushings) and dry thoroughly.
- Adjust as needed: If you modify your vehicle further (e.g., add a lift kit later), readjust adjustable control arms to maintain proper alignment.
FAQ
How much does a performance control arms upgrade cost?
A set of performance control arms ranges from $200 to $800, depending on material (steel is cheaper than aluminum) and adjustability. Adding installation and alignment, total costs are usually $400–$1,200.
Can I install performance control arms myself?
If you have basic mechanical skills and tools, yes. The process takes 2–4 hours for most vehicles. However, alignment should be done by a professional to ensure safety and performance.
Will upgrading control arms void my vehicle’s warranty?
It might, if the manufacturer can link the upgrade to a problem. Check your warranty terms—some allow aftermarket parts for performance upgrades, while others do not.
Do I need adjustable control arms if my vehicle is stock?
Not necessarily. Fixed performance control arms still offer better durability and handling than stock for stock vehicles. Adjustable arms are only critical if you modify the suspension (lift, lower, larger tires).
How long do performance control arms last?
With proper maintenance, steel control arms can last 100,000+ miles, even with heavy use. Aluminum arms may last 70,000–100,000 miles, depending on use (they’re more prone to fatigue from repeated impacts).